Canvas Collections is an optional feature that allows you to modify the Canvas modules page to improve the navigation experience and visual appeal.
What is Canvas Collections?
Canvas Collections actively modifies the Canvas modules pages as you are viewing it.
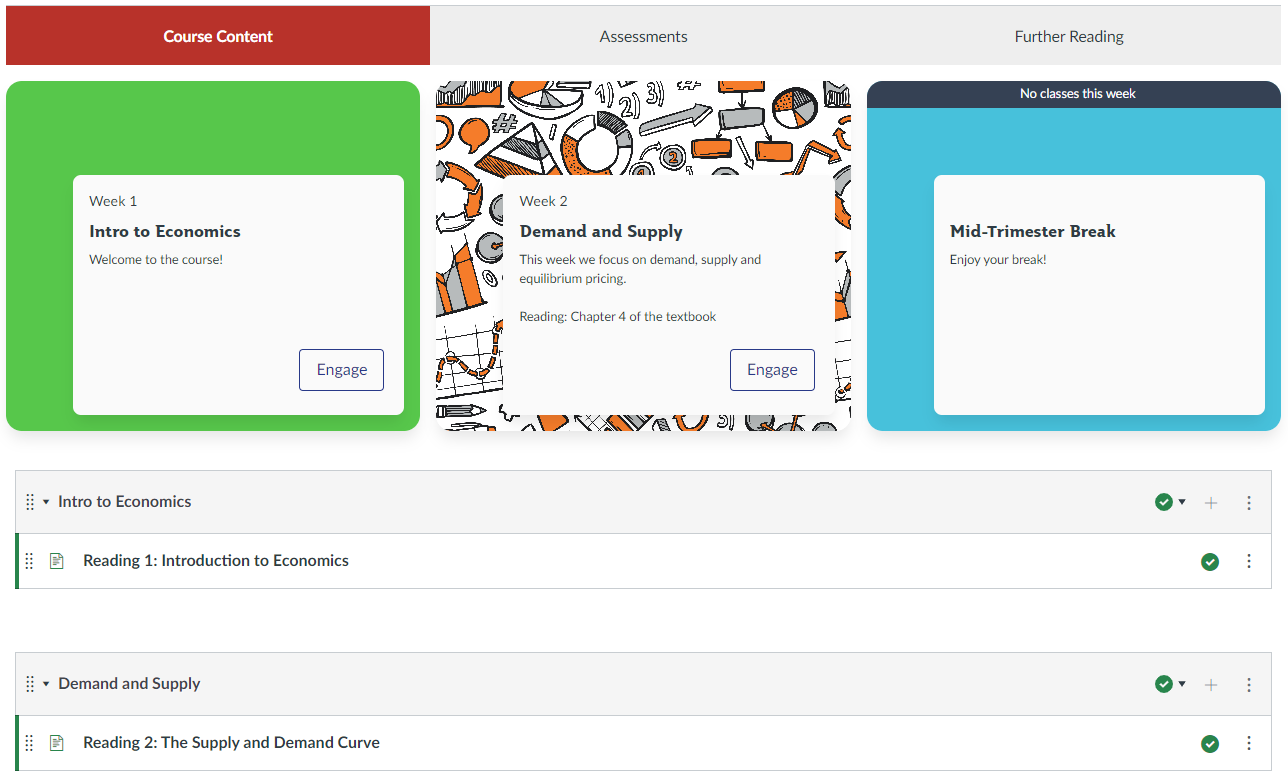
Canvas modules are grouped into collections. To navigate to a specific module, you must first navigate to the collection that contains the module. Each collection may have an additional visual representation of the modules it contains. Below the representation will be the standard Canvas list of modules, including just the modules allocated to the collection.
Once in a collection, you find a module by clicking on the module's representation (if the collection has one) or scrolling down the modules page until you find it.
If you navigate away from the Modules page, the Canvas Collections will remember which collection you were last viewing. On your return, it will show you that collection.
Elements within the Canvas Collections
Collections
Collections is the ability to purposefully group related modules together. For example, this course's modules are now grouped into three collections: Course Content, Assessments and Further Reading. The collections are named to help students navigate between the different groupings of modules.
Representations
Collections can be visualised in different ways using representations, depending on your course needs and preferences. Each collection can have a different representation and can be changed at any time. The representations are:
| Representations | Description |
|---|---|
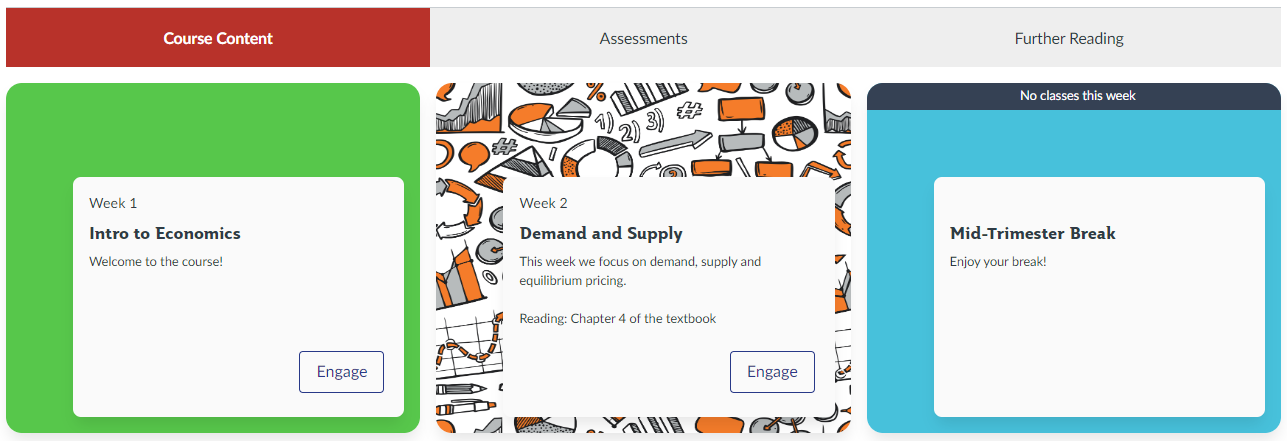
| Griffith Cards | The allocated modules are represented in a simple card format, with an image or colour as a background. |
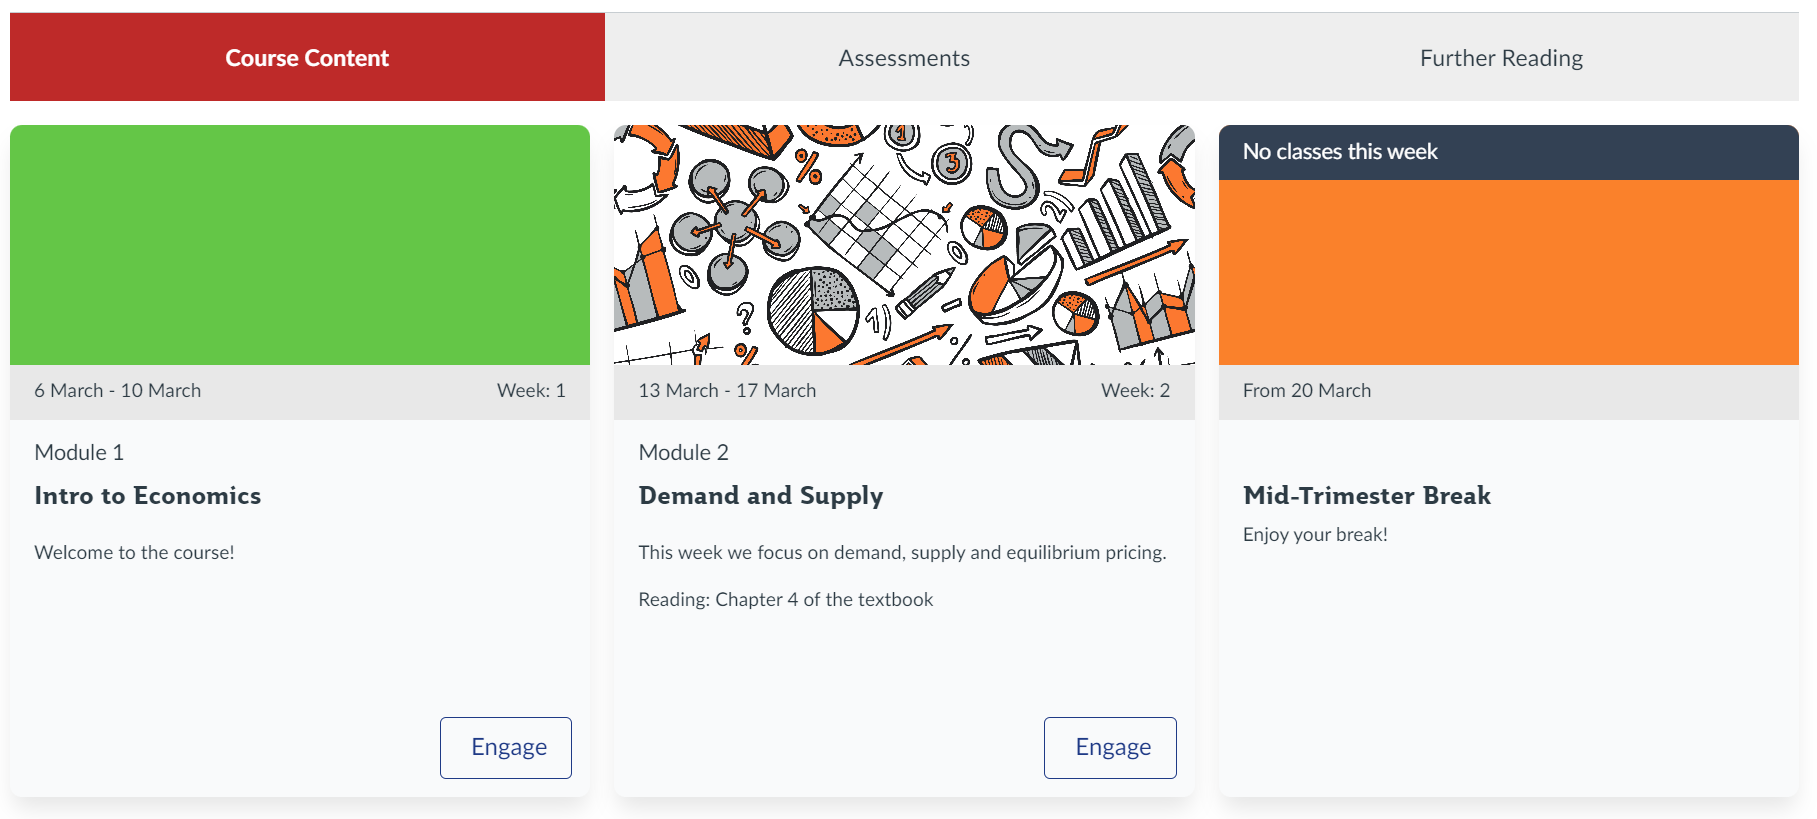
| Classic Cards | The allocated modules are represented in a card format, with a more prominent image and date options. |
| Collection Only | The allocated modules appear within the collection with no other representation. |
Example of Griffith Cards representation
Example of Classic Cards representation
Cards
Standard Canvas modules only display minimal information (name, list of items, published or not, progress etc) about modules. In your course, each module will typically represent more design/context specific objects (lecture, assessment item etc).
By adding more context/design specific information to a Canvas module you can transform it (at least visually) into a context-specific card. The cards interface provides methods to add extra information about modules, for example:
| Cards Information | Description |
|---|---|
| Banner (Image/Video/Colour) | The card representation includes a banner space in each card. That space can be filled by a colour, image, or iframe (embed videos etc). The purpose is to largely provide a visual cue to the specific object. |
| FYI text | For Your Information (FYI) cards are designed to provide information only. Unlike other cards, there is no Engage link from the card to a module. The common use for this is when a module will be available but is not yet available. It helps make students aware that something is coming. |
| Description | A short, but more detailed description of the module. Perhaps focused on how, why, when a student should engage with the module. |
| Dates | If using the Classics Cards interface, you can include specific dates for when to complete the module. |
Configuring Canvas Collections for a course
1. Setting up your collections
To use Canvas Collections, the Pages link in the left-hand Course Navigation menu needs to be visible to students. Students will only be able to view pages that have been published. Please check your currently published pages for any sensitive material (e.g. assessments) before enabling Canvas Collections.
- First, set up your collections. On the Modules page, you will see a toggle for Canvas Collections on the top right-hand side. Switch it on, then hit Edit to set up you collections.

Only one person can edit a course's Collections at a time.
- With Edit on, you can start adding new collection(s).
- Add a collection name
- Choose an initial representation: Griffith Cards, Classic Cards or Collection Only
- Choose whether to include page in your collection. The contents of an include page can be inserted before or after that current collection's representation
- Use the left-hand column to adjust the order of the collections and set the default collection with the star icon.
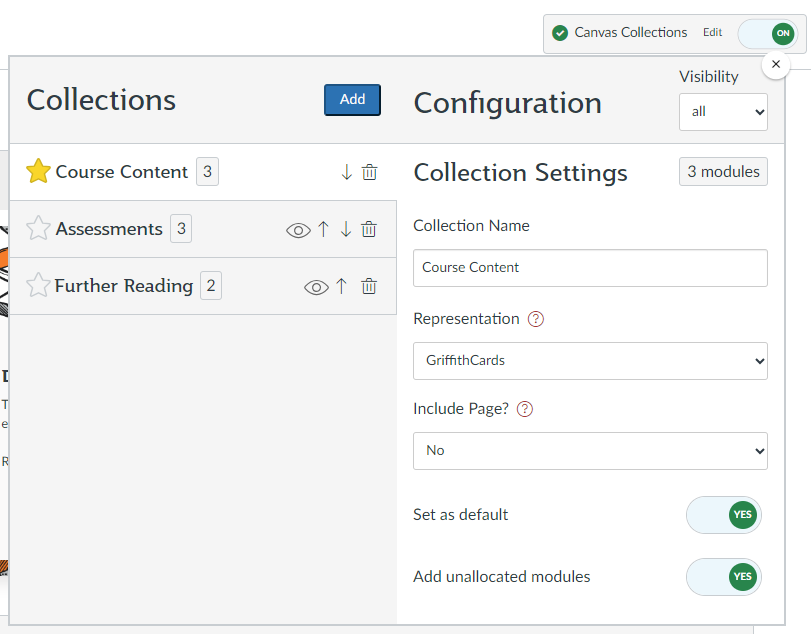
- Check the collection.
Once created, you can check what's been created and/or continue to add more collections.
Students can't see unpublished Collections. The newly created collections configuration (just a normal Canvas page) will be unpublished. This means students will not be able to use live Collections. You need to publish it before they can.
What's a good way to group your courses' modules?
This depends on your design intent and context. For example, you could group your modules based on how you expect students will engage with them:
- Weekly content: the lectures, tutorials, activities and resources that form the primary learning experiences.
- Assessment: the more formal formative and summative assessment items that evaluate the quality of student learning.
- Teaching staff and other supports: the people and services providing support to the learning experience.
2. Configure the modules
Once you have set up your collections, you will notice that each Canvas module (just under the module title) will have a module configuration element. 
- Allocate a module to a collection.
- Open the drop down menu under the desired module.
- In the General tab of a module configuration area, allocate a module to a collection. If you allocate a module to a collection that isn't currently displayed, the module will disappear once allocated. It will be visible under its new collection. You can change a module's allocated collection at any time.
- Add more information to a module. You can:
- Add a Label (e.g. 'Module' or 'Week')
- Add an Engage Button and specify the button text. When students click on this button, it will direct them straight to the module.
- For informational cards, add an FYI Banner.
- Add automated Numbers to the module labels.
- If using Classic Cards, set the card's dates in the Dates tab. You can include a date range, or, if using a single date, add a date label, e.g. From 20 March, Closes 24 September.
- In the Banner tab, select the card's background colour, image or iFrame. You can include any image that has been uploaded as a File to the course site.
- In the Metadata tab, add any supplementary information.
Fixing common problems
Failed to turn editing on
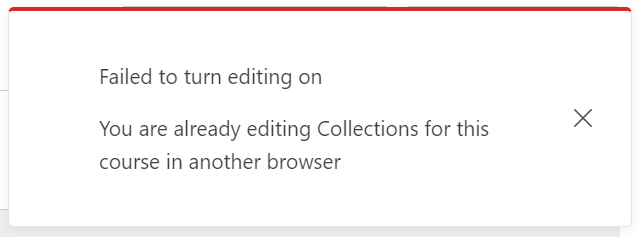
When you try to turn editing on, you see something like the following image. The source of the error may vary, but the overall result is you can't modify Canvas Collections.
Explanation
Only one person in one browser can edit a Canvas course's Collections at a time. The error above indicates that someone else (perhaps you in another browser window) are currently editing this course's Collections.
Normally, if that person stops making changes to the course's Collections their permission to edit will be removed, allowing other people to edit.
However, there may be circumstances where this process does not work or you need to make changes as soon as possible. There are at least two ways to address this:
- Talk with your teaching team. The only people who can edit a Canvas course's Collections configuration are those with teacher/designer roles for the course. You may well know these people and are able to communicate with them and ask them to stop editing.
- Force the removal of the editing lock. The Collections' editing lock is implemented using an unpublished Canvas page titled Canvas Collections - editing. Go to the course's pages view and sort by "last edit". Where the Collections page and its editing lock page are the most recently edited pages.