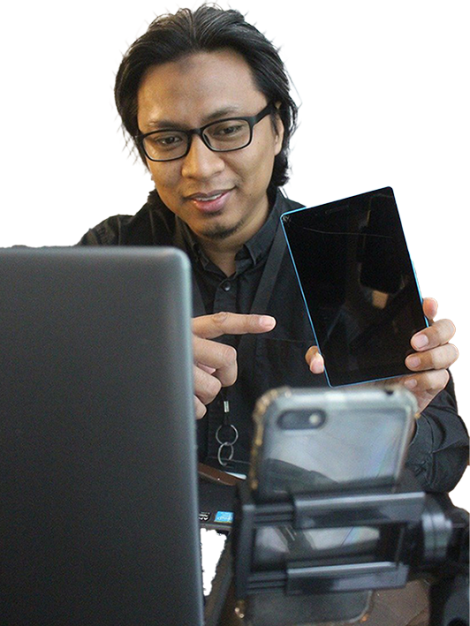
Plan your video assignment
A video assignment needs to go through three phases:
- Pre-production (planning)
- Production (filming)
- Post-production (editing).
The pre-production stage is the point at which you make sure that you meet the specific task and course requirements. The entire video production process will run more effectively and successfully when you are clear on what you are being asked to do, and how you will be assessed.
During this pre-production process ask yourself:
- What is the video's purpose or aim?
- What type or style of video is required—for example, pitch, interview or dramatization?
- How long does it need to be?
- Is a script or storyboard required?
- Is it a group project that requires roles and responsibilities to be assigned—for example, producer, writer, narrator, videographer and editor?
- What is the production timeline? Allow time for editing—that is, post-production.
- What text, images, props or locations are needed?
- Do you need to find copyright free or Creative Commons images or clips?
- Do you need to provide attribution for images or video created by someone else?
- Are you filming a subject or recording your screen?
- What software and equipment is required?
- What you are recording or filming, influences what you need.

Capture video
Record a presentation
Some assessments require you to record a narration, a voice-over to a presentation or footage of yourself speaking alongside your presentation. You can use Microsoft PowerPoint, Teams or Canvas to do any of these.
Suggested resources to help you get started:
- Learning@Griffith video assignments
- Record your screen in PowerPoint
- Record a presentation in PowerPoint
- Record a video clip in Teams.
Most laptops have a built-in microphone and webcam for recording audio and visual elements. Be sure to test these features prior to recording a full presentation.
Shoot a video
Sometimes you need to film yourself or someone else speaking or doing something. Using your smartphone is often the easiest option. Be aware of file size when using a mobile phone. If you are filming a long sequence the file may be too large for your phone or not easy to transfer from your phone to another device.
Some general tips to capture strong audio and visual elements include:
- Ensure your smartphone is horizontal when recording, so viewers can see it full size.
- Avoid zooming—instead, try to move closer to the subject.
- Compose your shots using the rule of thirds.
Record your screen
For other types of screen recording there are many tools available including built-in tools on Windows and macOS or Learning@Griffith Canvas Studio.
You can record calls or meetings using Microsoft Teams, if you want to capture multiple people in the video. Prior to recording, ensure you get permission from all participants. This will also allow you to capture multiple media types shared on the screen, such as PowerPoint presentations, websites, images, whiteboard, and documents.
Suggested resources to help you get started:
Copyright matters
Understand your copyright obligations when using music, audio, images and video content.
Filming
Lighting
- Use natural light whenever possible.
- Keep your main light source behind you—don't shoot into the sun.
- When outdoors, avoid putting your subject in direct sunlight—it's too harsh.
- When indoors, use extra light sources to light your subject from underneath and behind.
Sound
- Try not to rely on your phone for audio. Use a lapel or desktop USB microphone if you can.
- If you have a spare phone, you can use it as a microphone while you shoot with your main phone.
- Run a test take to ensure your microphone is working.
- It is very difficult to fix audio problems after you have recorded, so be careful to avoid:
- wind
- voices
- traffic noise
- rooms with hard bare walls, they create an unpleasant echo.
Video editing tools
| Tool | Features | Cost | Privacy | Training | Availability |
|---|---|---|---|---|---|
| Preinstalled video editing application by Microsoft, with very basic editing features. | Free | No data collection | Windows | ||
| Preinstalled video editing application by Apple Inc. | Free | No data collection | iOS and macOS | ||
| Create simple videos with easy templates; desktop and mobile apps are available. | Free basic plan | Requires an Adobe account | Windows / Android / iOS / macOS |
For more complex video projects, such as stitching multiple media files together, including footage, images, audio and background music, you may need to use alternative tools.
Evaluate the tool based on the criteria below:
- Features—ease of use, is it simple to get started if you are not familiar with it?
- Cost—can the software be obtained/accessed for free or at a low cost?
- Privacy—does the service or software collect your personal data (for example your name or email address)? If it does, how much information does it collect and how will your data be used? Learn more about privacy concerns.
- Training—is training or support available through the University, or some other way?
- Availability—is it available on your computing platform, and easy to download and run?
Ask the library
We are here to help!
Find us in the libraries or contact us by phone or online.
Workshops
We offer online workshops on researching, referencing, structuring assignments and exam preparation. Come along and improve your skills!
Peer assisted study sessions
Attend a student facilitated group study session.
Griffith mentors study support
Get study support by connecting with a Griffith student mentor.